Hello, welcome back! I saw this cute off the shoulder crop top on Pinterest which is perfect for the festival season. My top came out perfect unfortunately I couldn't use the tassel trim as planned. 90% of the tassels fell of the trim which is strange, because I never used it neither toughed it! So that was shocking. For now I'm going to leave it for what it is, maybe if I find another trim I may add it. But anyways in this post I will show you how to make this cute crop top.
You can check out the pattern diagram in this blog post.
For this top you only need to two pattern pieces, the bodice and the sleeves. You can use my measurements or take your own. In order to make this pattern you will need your bust, arm and desired length measurement. 1 cm is added on the bust for comfort and around 10 cm added on my arm measurement.
You will need
elastic
scissors
tassel trim
medium- or lightweight fabric
sewing machine
Step 1. Place the front and back pieces together with the goods sides facing, then sew it together
Step 2. Serge the side seams, top- and bottom edge.
Step 3. Hem the bottom edge by folding it once or twice, it depends on how many seam allowance you've added. Make sure the side seam allowance is facing the back piece.
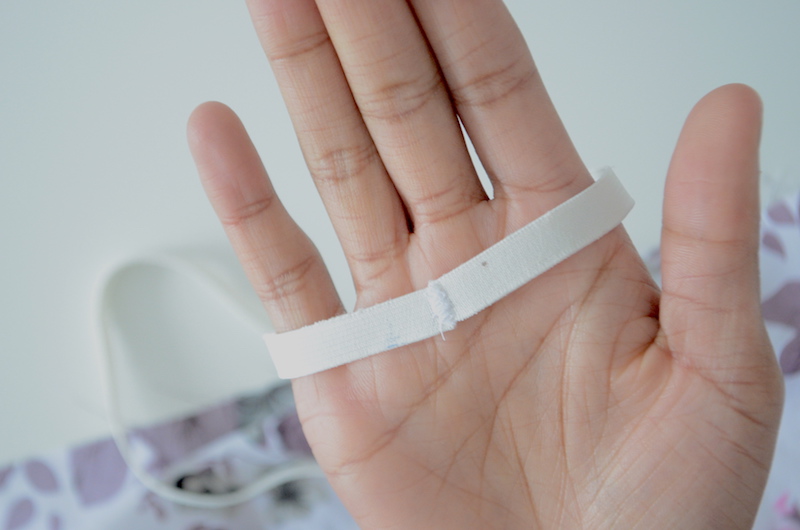
Step 4. Secure the elastic ends together with a zig-zag stitch
Step 5. Pin the elastic onto the top evenly.
Step 6. Stretch the elastic to the fullest when you sew.
Step 7. Fold the edge inwards to hide the elastic, then sew with a straight- or zig-zag stitch the elastic into place. Make sure to stretch out the fabric/elastic when you sew.
Repeat all the same steps from above for the sleeves.
Step 8. Attach the sleeve onto the bodice. Sew into the seam to secure the pieces together.


Post a Comment
Follow the blog to leave a comment! (This is to prevent spam comments )
Note: Only a member of this blog may post a comment.